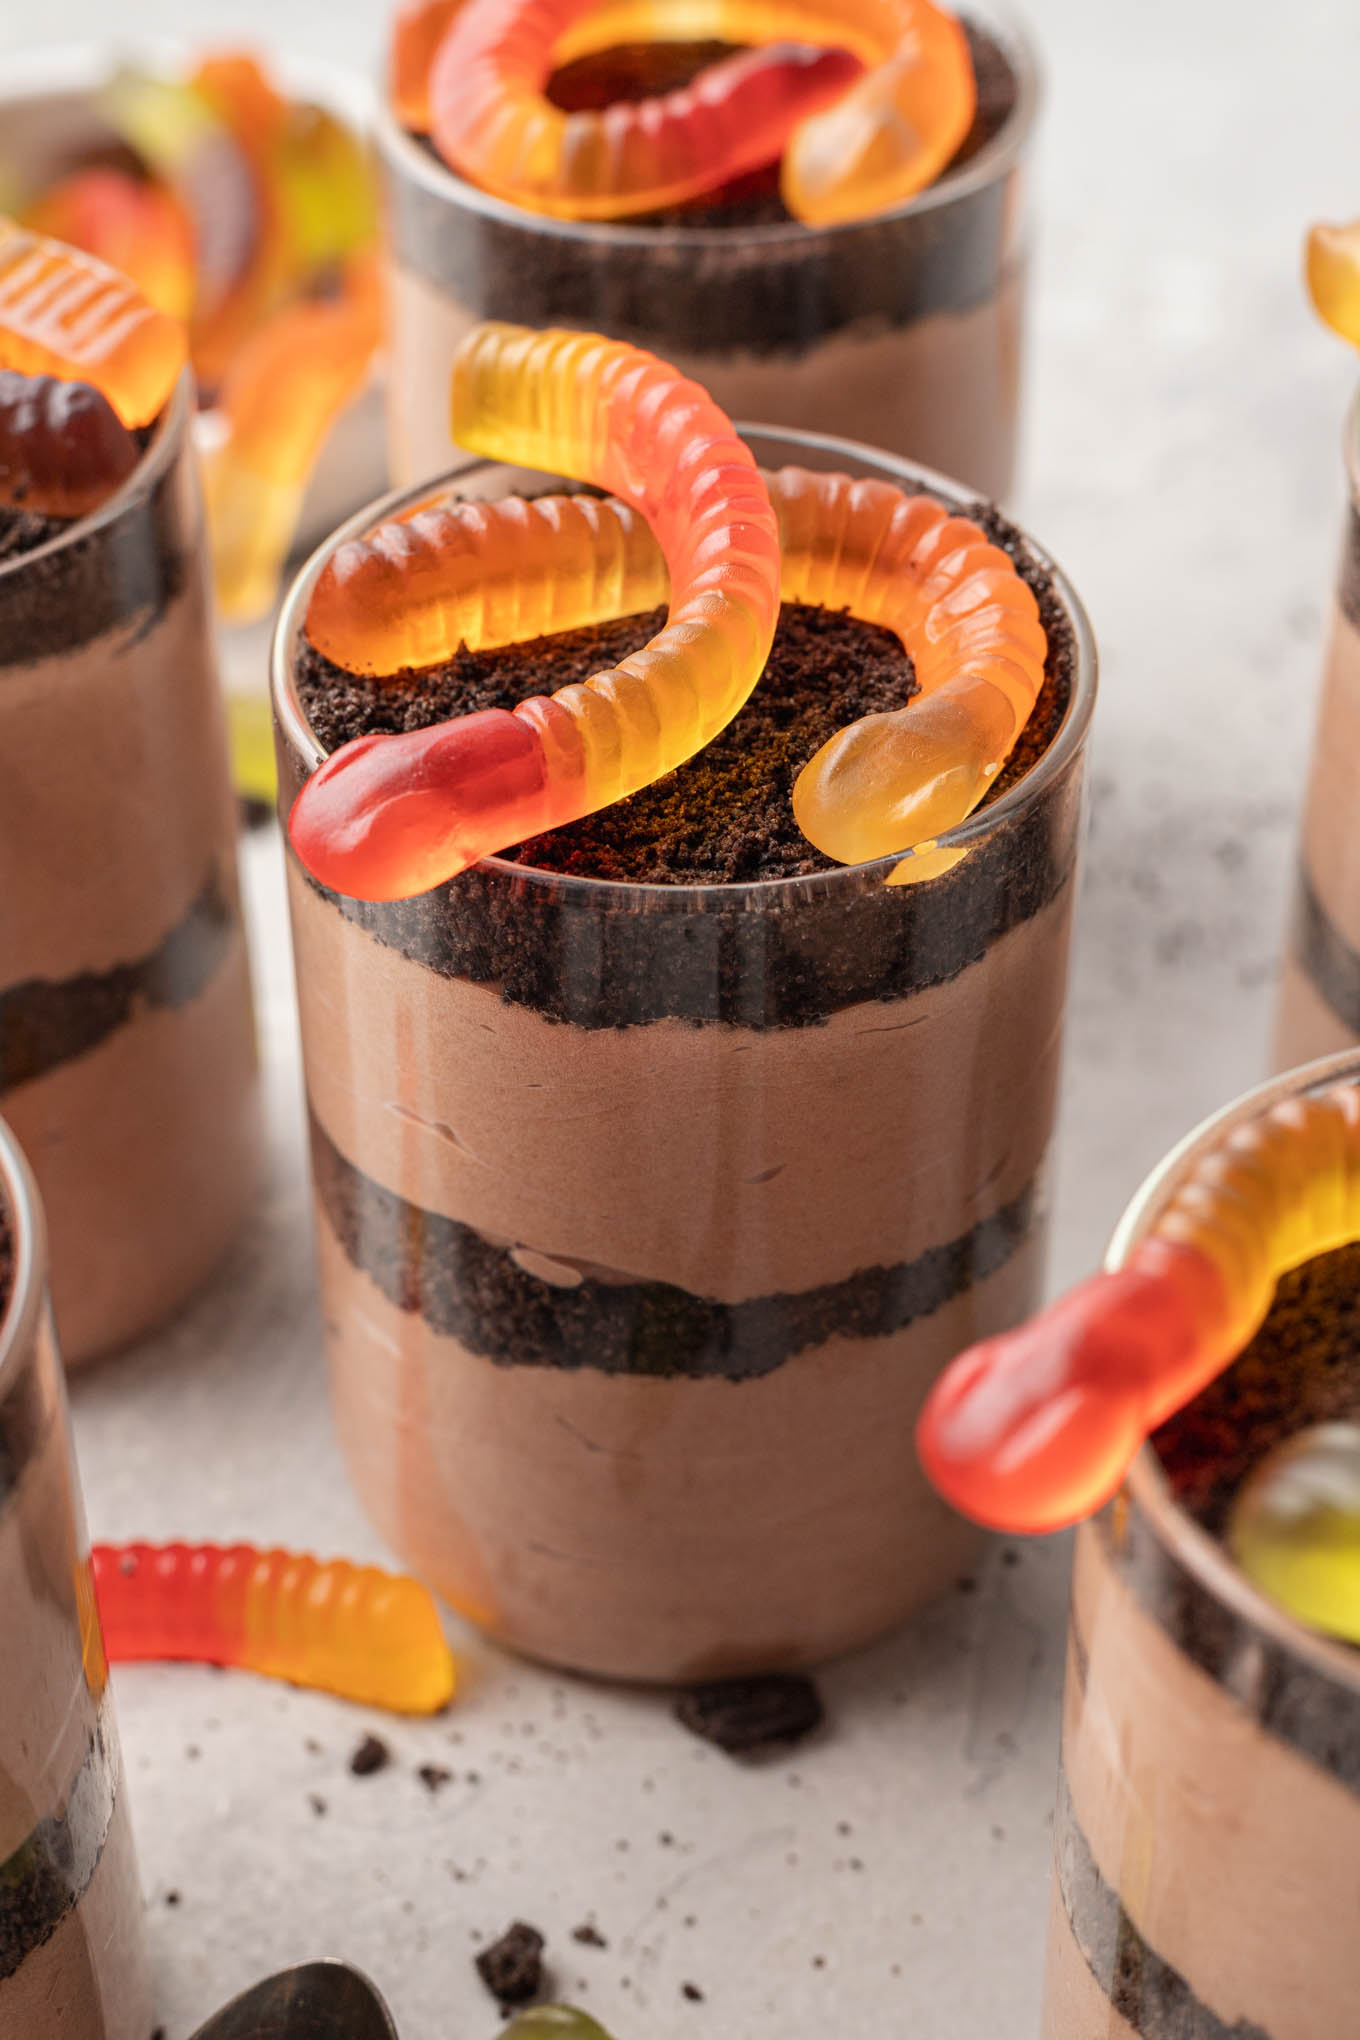
Homemade Dirt Cups
These Oreo dirt cups are a homemade version of your favorite childhood treat. This is an easy dessert to customize for any holiday!

A childhood favorite at birthday parties and Halloween gatherings, dirt pudding cups are incredibly easy to prepare and get a 10 out of 10 for the fun presentation.
Many people make dirt cups with store-bought chocolate pudding, but I highly recommend making the entire dessert from scratch. Homemade chocolate pudding is very simple to prepare and is so much richer and creamier than the store-bought stuff.
Once the pudding is made, all that’s left to do is fold in some whipped cream, crush up some Oreos, and start layering! I used gummy worms in my dirt cups, but you can customize the candies on top to suit whatever holiday you’re celebrating.
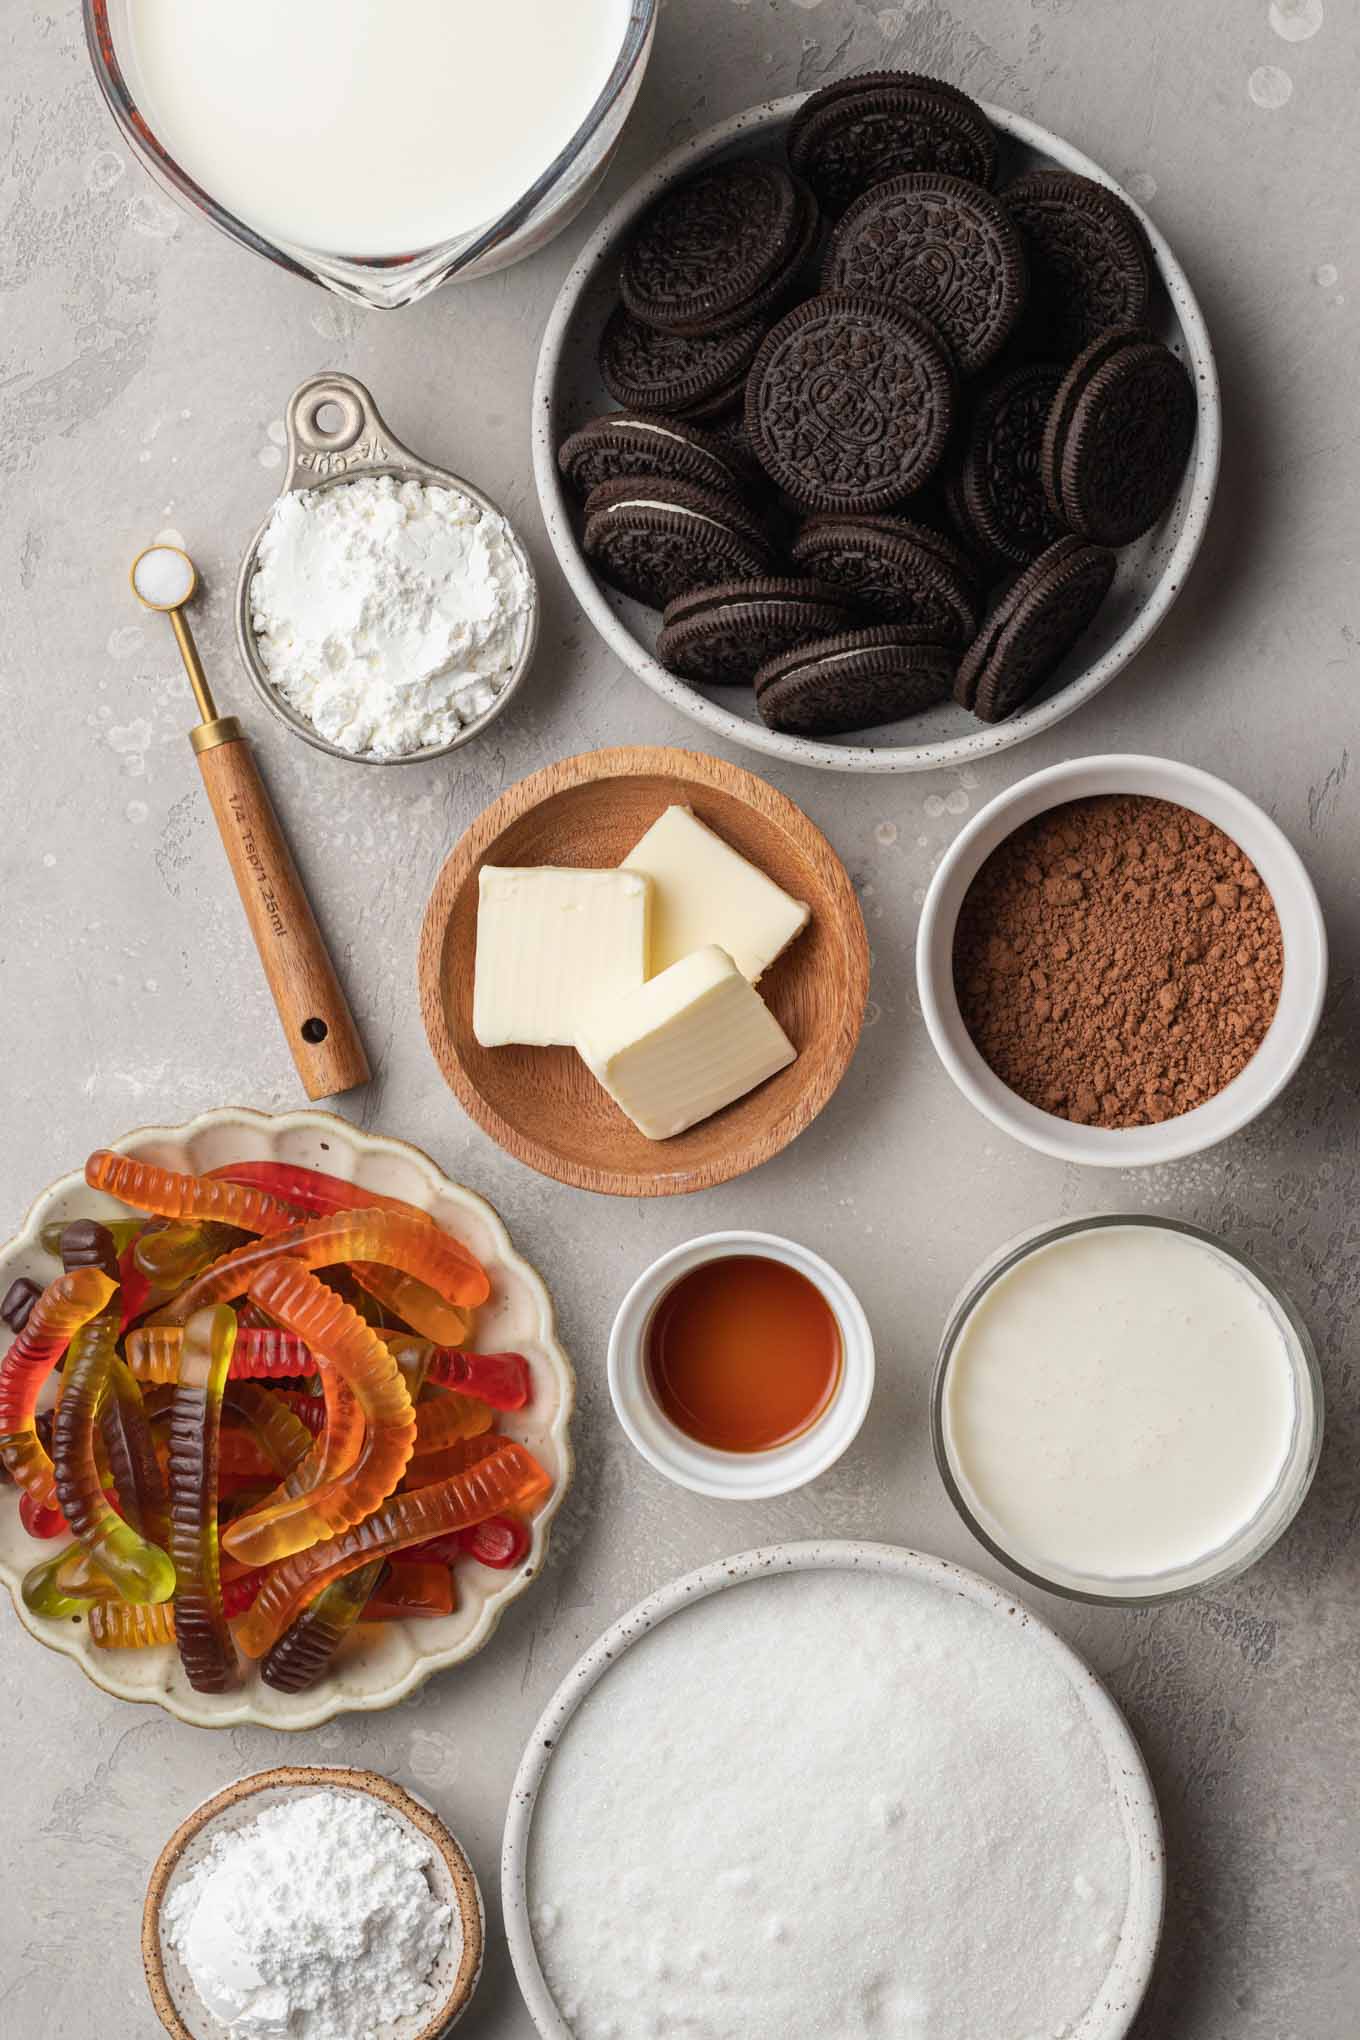
Recipe Ingredients
The ingredients needed to make these are basic and easy to find at any grocery store. Below is just an overview of the main items you’ll want to have on hand:
- Oreos: Either regular or Double Stuf Oreos will work for this recipe. You will be using the whole Oreo too, so there’s no need to remove the creme filling.
- Cornstarch: Also known as cornflour, this thickens the chocolate pudding while keeping it silky smooth.
- Whole Milk: Makes for a thick and creamy pudding. Avoid using low-fat milk, otherwise your pudding may not be as thick.
- Heavy Whipping Cream: Must be at least 36% fat to whip up properly. The whipped cream gets folded into the cooled chocolate pudding to lighten it up.
- Gummy Worms: The classic topping for dirt cups! I’ve also listed some alternatives to gummy worms further down in this post.


How to Make Dirt Cups
Dirt pudding cups require minimal effort to prepare, but make sure to allow enough time for the pudding to chill before assembling the dessert. Let’s take a closer look at how this nostalgic treat is made:
Cook The Chocolate Pudding
- Add the sugar, cocoa powder, cornstarch, and salt to a large saucepan. Whisk to combine before stirring in the milk.
- Bring the mixture to a boil over medium heat, stirring often with a rubber spatula. Once it’s boiling, continue cooking for 1 minute before removing it from the heat.
- Stir in the butter and vanilla, then strain the pudding through a mesh sieve and into a heat-proof bowl.
- Press a piece of plastic wrap directly onto the pudding (this will prevent it from forming a film on top) and refrigerate for at least 2 hours.


Finish The Chocolate Pudding
- To a separate mixing bowl, add the heavy whipping cream and powdered sugar. Whip until stiff peaks form.
- Gently fold half of the whipped cream into the chocolate pudding. Once combined, carefully fold in the remaining whipped cream.


Assemble The Dirt Cups
- Process the Oreos in a food processor to create fine crumbs. If you don’t have a food processor, you can simply crush them in a ziplock bag instead. They don’t have to be perfect!
- Scoop approximately 1/3 cup of pudding into the bottom of eight cups (the cups should be roughly 9- to 10-ounces each). Top the pudding layer with 1 1/2 tablespoons of Oreo crumbs.
- Distribute the rest of the pudding mixture between the cups. Top with the remaining Oreo crumbs.
- Chill the layered chocolate pudding cups for 2 hours before topping with gummy worms.
Recipe Variations
No, these Oreo dirt cups aren’t just for Halloween! You can easily tailor this recipe to suit any celebration or holiday using one of the following ideas:
- Funfetti: Swap out the chocolate pudding for vanilla pudding, use golden Oreos, and add some sprinkles.
- Peanut Butter Cup: Instead of crushed Oreos on top, add some chopped peanut butter cups.
- Valentine’s Day: Instead of gummy worms, add one to two chocolate-covered strawberries on top.
- Easter: Swap out the gummy worms for peeps or chocolate covered eggs.
- Halloween: Add some candy corn pumpkins and a Milano cookie with “RIP” written in chocolate on it.

Make-Ahead Instructions
Although leftover dirt cups will last up to four days in the fridge, I recommend enjoying them within 24 hours of assembly.
That’s not to say you can’t prepare the cups in advance! The chocolate pudding itself can be made up to three days in advance. If you want them to be as fresh as possible, wait to fold in the whipped cream and assemble them the day before you plan on serving them.

Recipe Tips
- Make sure to stir the pudding mixture often and scrape around the sides and bottom of the pan with a rubber spatula. This will prevent the pudding from accidentally burning!
- For best results, use only full-fat dairy ingredients to make the chocolate pudding mixture.
- If you want to simplify this recipe, feel free to use two 3.9 ounce boxes of instant chocolate pudding instead.
More No-Bake Recipes To Enjoy!
- No-Bake Pumpkin Cheesecake
- Edible Cookie Dough
- Mini No-Bake Cheesecakes
- Peanut Butter Balls
- No-Bake Oreo Cheesecake
Recipe Video

Dirt Cups
Ingredients
- 1 cup granulated sugar (200 grams)
- ⅓ cup natural unsweetened cocoa powder (30 grams)
- ¼ cup cornstarch (32 grams)
- ¼ teaspoon salt
- 3 ½ cups whole milk
- 3 tablespoons unsalted butter (45 grams)
- 1 teaspoon pure vanilla extract
- 1 cup heavy whipping cream (240 ml)
- 2 tablespoons powdered sugar (15 grams)
- 18 Oreos regular or double stuf
- 16 to 24 gummy worms
Instructions
- In a large saucepan, whisk together the sugar, cocoa powder, cornstarch, and salt until well combined.
- Gradually pour the milk into the saucepan with the dry ingredients, making sure to whisk well until the mixture is fully combined.
- Place the saucepan over medium heat and bring to a boil, stirring or whisking the mixture often (I suggest using a rubber spatula to scrape around the bottom and sides of the pan occasionally). Allow to boil for one minute, the mixture should be thicker and coat the back of a spoon or rubber spatula at this point.
- Remove from the heat and stir in the butter, one tablespoon at a time, then stir in the vanilla extract.
- Strain the mixture through a fine-mesh strainer into a heat-proof bowl. Place a layer of plastic wrap directly on the surface of the custard and refrigerate until chilled, about 2 to 3 hours.
- Once the mixture is set and no longer warm, whisk until smooth. Set aside.
- Add the heavy whipping cream and powdered sugar to a separate clean mixing bowl. Using a handheld mixer or stand mixer fitted with the whisk attachment, mix on low to medium speed for 30 seconds to 1 minute, then increase the speed to medium-high and continue mixing until stiff peaks form.
- Gently fold half of the whipped cream into the chocolate pudding until just combined, then fold in the remaining whipped cream until fully combined.
- Add the Oreos to a food processor or blender and process until you have small crumbs.
- Scoop about ⅓ cup of the chocolate pudding mixture into the bottom of eight 9 to 10 ounce cups. Use a spoon to smooth it out into one even layer. Spoon 1 and ½ tablespoons of crushed Oreos crumbs on top of the pudding layer in each cup and spread them out evenly. Evenly distribute the remaining pudding mixture between each cup (a little over ⅓ cup per cup) and smooth it out. Top each cup with the remaining Oreo crumbs, about 1 and ½ more tablespoons per cup.
- Place all of the dirt cups onto a baking sheet and transfer to the fridge to chill for at least 2 to 3 hours.
- Place two to three gummy worms on top of each cup right before serving.


