Life Lately – A Tour Of Our New Home
Happy Monday, friends! While I usually just share recipes with you all, today I wanted to do things a little different and share a personal post. Earlier this year, I mentioned that Josh and I built a new house. Over the past few months we’ve been getting settled in and doing a little decorating so I felt like it was finally time to share a post with pictures of our new house.

I’ll be honest, it was hard to pick just a few pictures so I decided to share everything with you. By everything I mean the kitchen, living room, bathrooms, and even the laundry room. I’m also sharing paint colors and everything that we used because I remember when we remodeled our last house I found stuff like that so helpful. Hopefully, you do too!
And if you’re here for the recipes, then you can feel free to skip right past this post and I’ll be back next week with a new recipe for you!
Kitchen

It was incredibly hard to narrow down pictures for this post, but the main area I wanted to focus on is my favorite part of our new house – the kitchen.
Our old home had very little counter space, in fact, I would end up using my stove top most of the time. One of my main requirements for the new house was to have as much counter space as possible. For the countertops, we went with a honed granite, so it’s not super shiny but it’s also not as dull as a matte finish. Even though it does show a lot, I do love it and it encourages us to want to keep the countertops clean too (ha!).
I also wanted to have as much storage as possible so we have some extra storage on the back of the island. There are also outlets in the island, which I love! I can move my stand mixer over to the island, plug it in, and have tons of space to work. We hid the outlets on the sides of the island, you can see them in the picture above on the top right side (they’re hidden behind a couple small doors).

When it came to the ovens, I knew that I needed double ovens. For nearly four years of blogging, I worked with a single oven and it could be hard at times. Actually, a major pain, especially if I needed to bake a few dozen cookies or cupcakes.
Because of the layout of the kitchen, we couldn’t find a good spot to put a stacked double oven. Josh came up with the idea to put two single ovens in the island and after looking through some pictures online I loved the idea, so that’s where we put them.

On the right side of the ovens, I had them build a drawer with dividers so that I could have a place for my baking pans. Plus, it’s the perfect spot to have them because it’s right by the oven.
The matching drawer on the left side of the ovens is our trash drawer. I didn’t take a picture of that one, but I’ll let you use your imagination.

Another feature that we added to the kitchen was a pot hanging rack that’s hidden inside of a cabinet door. This is right by our stove top, it’s super handy to open the door, pull out the rack, and grab a skillet or saucepan.

The final thing we added to the kitchen was a spice rack drawer. After laying out the plans for the cabinets, we found that we had a small dead space on the right side of the dishwasher. Our contractor originally suggested just making a false door for this spot, but I asked if it would be big enough for a spice rack.
Luckily, it was and I LOVE this addition. I’ve had a small plastic lazy susan forever and the spices I don’t use often would always get pushed into the middle and hard to find. I love having the spices in this rack because they’re easy to find and grab. If you ever have a small space in your kitchen you’re not sure what to do with I highly suggest adding one!
Also, you may have noticed there aren’t any outlets along the backsplash in our kitchen. They’re actually hidden underneath the cabinets with some under cabinet lights too. I love this because it keeps the backsplash nice and clean!
Kitchen Details
- Wall color: Repose Gray – Sherwin Williams
- Cabinet Color: Alabaster – Sherwin Williams
- Island Color: Metal Chi – Kelly Moore
- Counter Tops: Absolute Black (Honed)
Living Room

Our living room is open to the kitchen (you can see our couch in the oven pictures!) and I love the setup. We’re still working on adding more to the living room, but my favorite part is the fireplace. We had them brick the bottom half and paint it white. They also added trim that matches the rest of the house along with a stained and distressed mantle.
Right above the mantle, I had them add some shiplap. Josh actually built the clock that’s on the fireplace out of pallet wood, I love it!

We also have windows on each side of the fireplace that look out to the backyard. On the left side, we have a small entertainment center with our TV. We plan to get a larger one that matches the house better, but for now, we’re using the same one we’ve had forever. I’m also planning to put a rug and coffee table in the living room (it feels really bare right now), so if you have any rug suggestions I’d love to know!
The desk that’s by the couch was also built by Josh. Now that I’m working from home, I like to be able to work in the living room so I can see out to the backyard or have the TV on while I’m working on the computer. There’s also a loveseat that matches the couch on the left side of the desk.
Entry Way/Dining Room
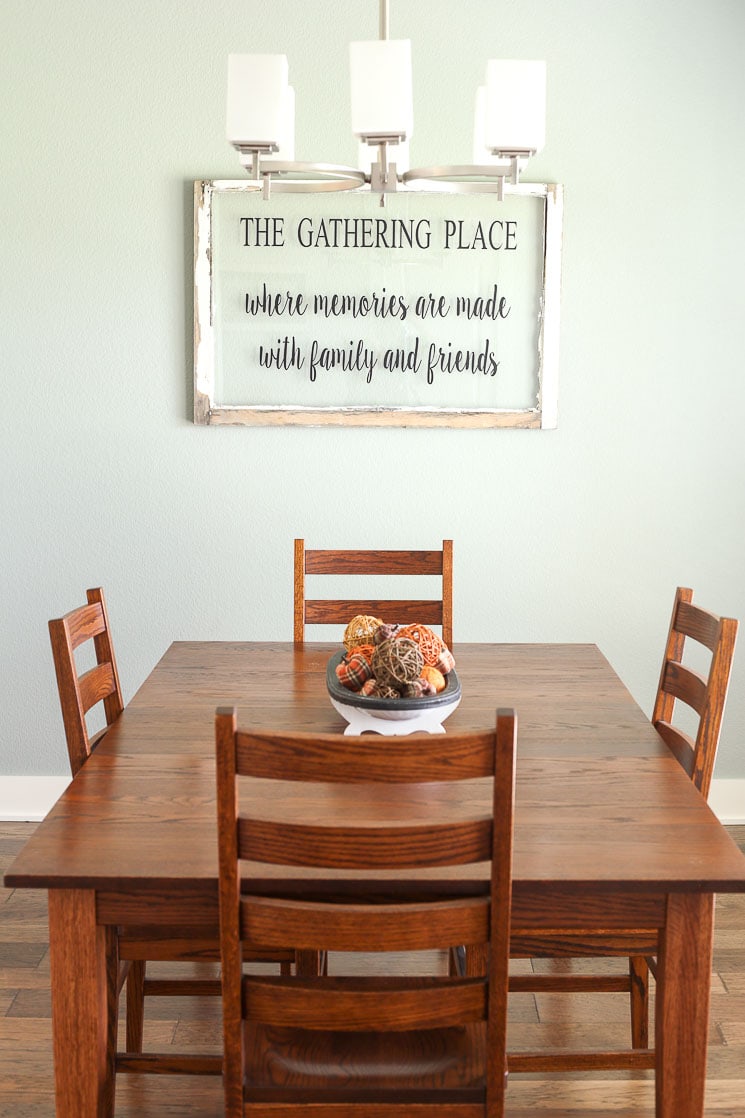
Our dining room and entryway are kind of open to the kitchen and living room too. There are walls, but they’re pretty open to them. We plan to get a dining room table that matches the house, but right now we’re still using our old one.
Dining Room Details
- Wall Color: Oyster Bay – Sherwin Williams

Josh built this adorable farmhouse style entry table for our entryway and distressed it. The colors match the fireplace and the desk that are in the living room.
The wall color in the entryway is also Repose Gray from Sherwin Williams. If you’re looking for a true gray color that’s not too brown, blue, or green, I highly recommend it! This is the color that we used throughout most of the house and I adore it.
Bathrooms

Our house has two full bathrooms and a half bathroom. We kept the same color and style of cabinets as well as the same granite throughout all of the bathrooms. We used the same wall color as the dining room in the full bathrooms and went with a classic white hex tile (with a dot) for the flooring.

We did the same floor tile on the floor of the shower and white subway tiles around it. Our second bathroom matches as far as colors and tiles, just a different layout. The second bathroom is almost like a jack and jill bathroom off of the two back bedrooms in our house.
We also kept the same black granite around the whirlpool tub and added some shiplap around it. We do have separate counters in our bathroom, Josh’s is actually on the other side.
Bathroom Details
- Wall Color: Oyster Bay – Sherwin Williams

We wanted to do something a little different in the half bathroom but wanted it to still flow with the rest of the house. We stuck with the same countertops and cabinets but added shiplap on ALL of the bathroom walls.
I’m planning to add some small shelves in the bathroom and colorful decorations to break up the white and black. This picture was taken before we moved in so that’s why the countertops are a little dusty.

We stuck with the hexagon tiles for the half bathroom, but changed it up and did black tiles with a white grout. I love it!
Half Bathroom Details
- Wall Color: Alabaster – Sherwin Williams
Laundry Room

I really loved the look of concrete tiles but didn’t want to mess with the upkeep so we went with porcelain tiles that looked like concrete tiles in our laundry room.
For this room, we also used a gray/blue color and I love how it looks with the tile. This picture was also taken before we moved in, but there are washer and dryer there now.
Laundry Room Details
- Wall Color: Dutch Tile Blue – Sherwin Williams
Doors/Trim

We wanted to keep a very traditional craftsman look to the inside of the house since the outside is a craftsman style, so we opted for a more square trim versus a molded version. We also did a thicker baseboard, which I really love. We carried the same trim and doors throughout the entire house.
This picture is from our bedroom and the hall leads to our bathroom, which is why there are two small doors there. The two doors on each side go to our closets, they’re open in this picture but we have pocket doors on them to save a little space.
Door/Trim Details
- Trim/Door Color: Alabaster – Sherwin Williams
Hopefully, you made it to the end of this post. I really had such a hard time narrowing down the pictures and what to share with you. I do plan to put together more personal posts from time to time as well. If there’s anything you’d love to see, let me know!
Also, if you have any questions about tiles, decorations, etc. feel free to ask.
Have a great week, friends!
-Danielle


Hi Danielle!
I am starting to build a home and I was searching kitchens and yours popped up! Love it! I have a quick question, do you have 3 or 4 feet between your stove and island? Thank you for sharing your home, I love the oven idea!
Thank you, Shona! There’s 3 feet between the stove and the island 🙂
I love, love, love your island! Can you tell me the paint color?
It’s metal chi by Kelly Moore 🙂
I love everything but especially the ovens. Do you have a hood vent above or are they down draft?
We have a vent hood above the cooktop, the double ovens just vent out of the bottom 🙂
I love, love, love your island! Can you tell me the dimension?
Thank you, Debi! The island is 9 feet long by 4 feet wide.
I may have missed it in a comment but can you give me more information on the ovens? are these wall ovens that you just installed side by side? I am wanting to do this in my house but am having such a hard time finding what I want. What kind did you get? are they gas/electric? Lovely home!!
Yes, they’re just wall ovens that we installed side by side! We also have electric ovens 🙂
Where did you get your bar stools? My kitchen is this exact color scheme and I am in search of good bar stools.
I got them from Amazon! I just checked and the ones that I ordered aren’t available right now, but you may be able to find something similar or wait until they’re back in stock. They’re Buschman metal bar stools (matte white with a wooden seat).
Beautiful home! What are your thoughts on the black tile in your bathroom? Can you see every spec of dust or is it fairly low maintenance? We are remodeling a home and I love this for our kitchen but I was worried that every step would show.
Thank you, Allison! I do love the black tile, but it does easily show dirt, dust, etc, which is why we put it in a smaller low-traffic area of the house. I personally wouldn’t put it in the kitchen for that reason so we stuck with the hardwood in our kitchen. I do think a similar tile would look great in a kitchen though, but a lighter color may be easier to work with 🙂
Wow! Such a beautiful home! Congrats! 🙂
Thank you, Allison!
Efficient and beautiful. The simplicity is refreshing and it gave me some good ideas for my next home especially in the kitchen.
Thank you for sharing.
Thank you, Diane!
What an amazing looking home. Congratulations on a job well done. Hope you enjoy yourselves there for a very long time. Especially with the holidays coming!
Thank you, James!
You have such a beautiful house?
Hope you and your family enjoy it for a long time with happiness!
My daughter has your name, but in portuguese: DANIELA ?
Love from Oporto, Portugal ???
How cool, Maria! Thank you for the kind words too 🙂
Beautiful home!! This is amazing, but I almost have the same kitchen which we designed about 2 years ago! Wish I could upload a picture for you to see! It is very functional and we love it as I am sure you do too! Thanks for all the great recipes and best wishes in your new home!
Patty
Thank you, Patty! I just saw your e-mail too, your kitchen is beautiful!
Such a lovely home!! One question….what size are the hex tiles on your bathroom/shower floors….1″, 2″, or? Thank you!
Thank you, Mary! I measured them and they’re just a little over 2-inches 🙂
What a beautiful home Danielle. Thanks for sharing. I am so proud for both you and Josh. (And very jealous of that lovely kitchen!). I know this has been a long time coming and you two have worked hard for this. Congratulations on your new home!
Cindy
So kind of you, Cindy! Thank you!
Thank you very much for sharing the photos of your new home. It’s a deam house! And I just dream of having such a neat kitchen. Congatulations to such a wonderful house and kitchen. And also thanks for your nifty recipes.
Greetings from Germany,
Dorothee
What a lovely home you have – I wish you many years of happiness and joy in your lives. Thank you for sharing. It was a pleasure to look through. I fell in love with your twin ovens, storage and pantry area. I can understand how this would be such a help for you.
Thank you for sharing your recipes as well.
. I had always hoped to have been able to move into a new house, but circumstances meant that this was not possible. I try to be grateful at having a ‘roof over my head’, but being human, I have had some twinges of envy ( as awful as that sounds) whenever family or friends have been able to move into their second, and sometimes third homes.
Wishing you and your family all the best.
Irene from Auckland New Zealand.
Thank you, Violet. I really appreciate it! Wishing you all the best as well!
Thank you so much, Dorothee!
Such a beautiful home you have got there.. I especially loved the kitchen features.. Love the pots and pans hanging rack.. So cool.. We recently moved into our new home and the kitchen drawers are soooooo bland. Need to do something about that. ? The little black hexagon bathroom tiles so cute.. ? ?
Thank you, Arpita! I remember with our last house our kitchen cabinets and drawers were kind of the same way, but a fresh coat of paint definitely helps!
Love, love, ? the kitchen. Great ideas.
Thank you, MJ!
I don’t have a house anymore, but I sure do love what you did with your new home. It’s beautiful!!! Thanks for showing it to all of us ?. Also, very much enjoy all of your recipes. Keep up the good work.
Thank you, Carol! I appreciate that! 🙂
Absolutely beautiful. You have given your house some careful consideration and it shows. Congratulations on your new house and continue having fun decorating it.
Thank you, Carole!
Hello, you have a beautiful home. The kitchen has to be every women’s dream. We had our home built in 1980 and I have to say when building from scratch you are able to have what you really want.
Thank you for sharing, love all your recipes
Thank you so much, Jennifer! It really is nice to be able to build a house from scratch 🙂